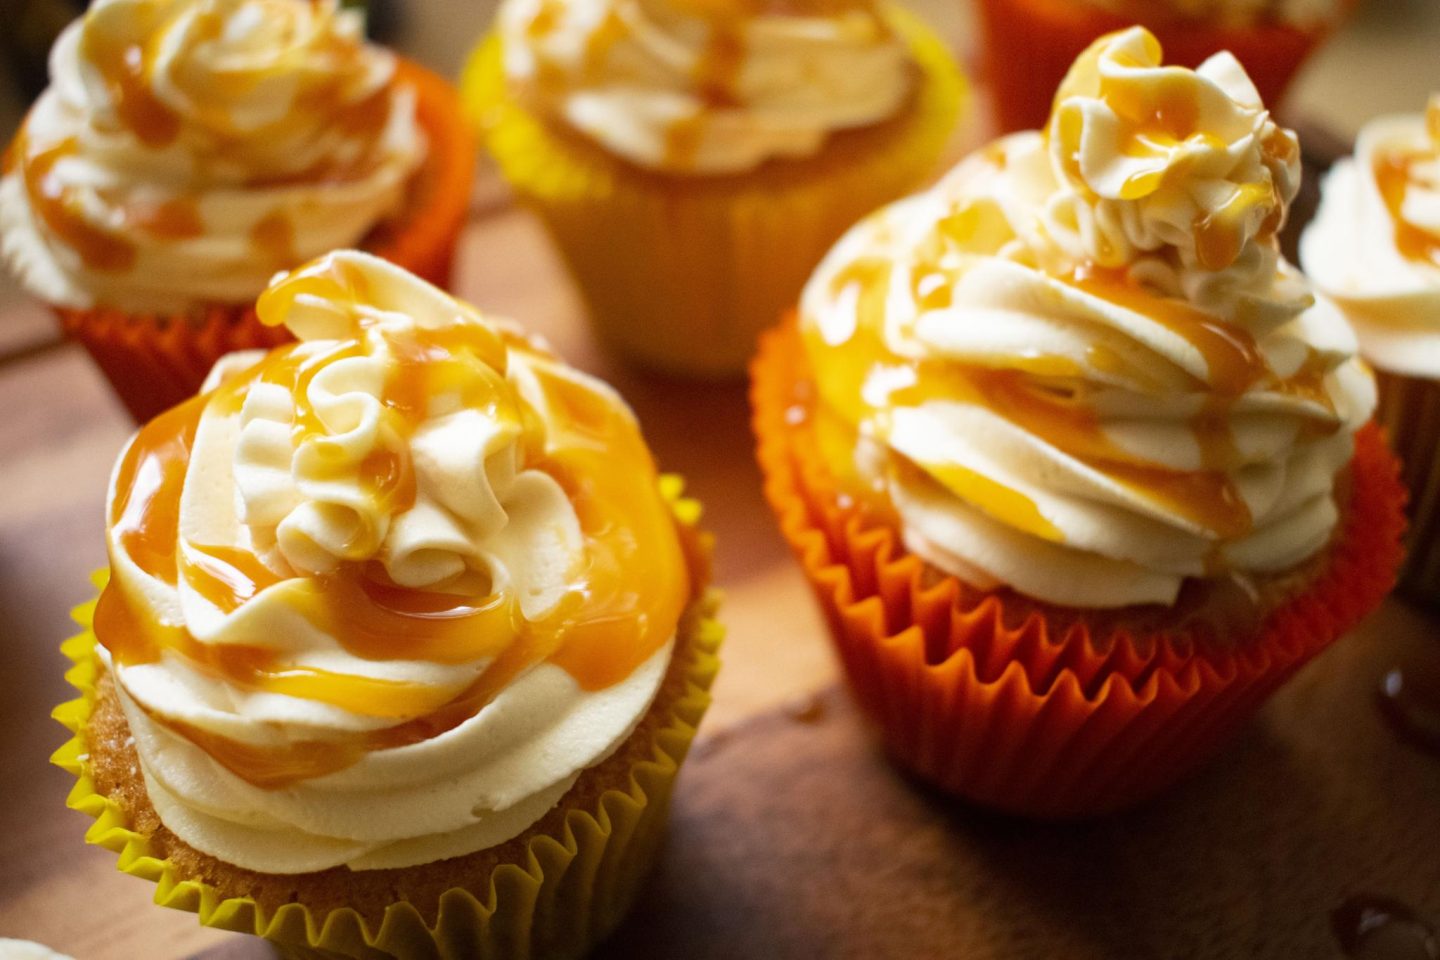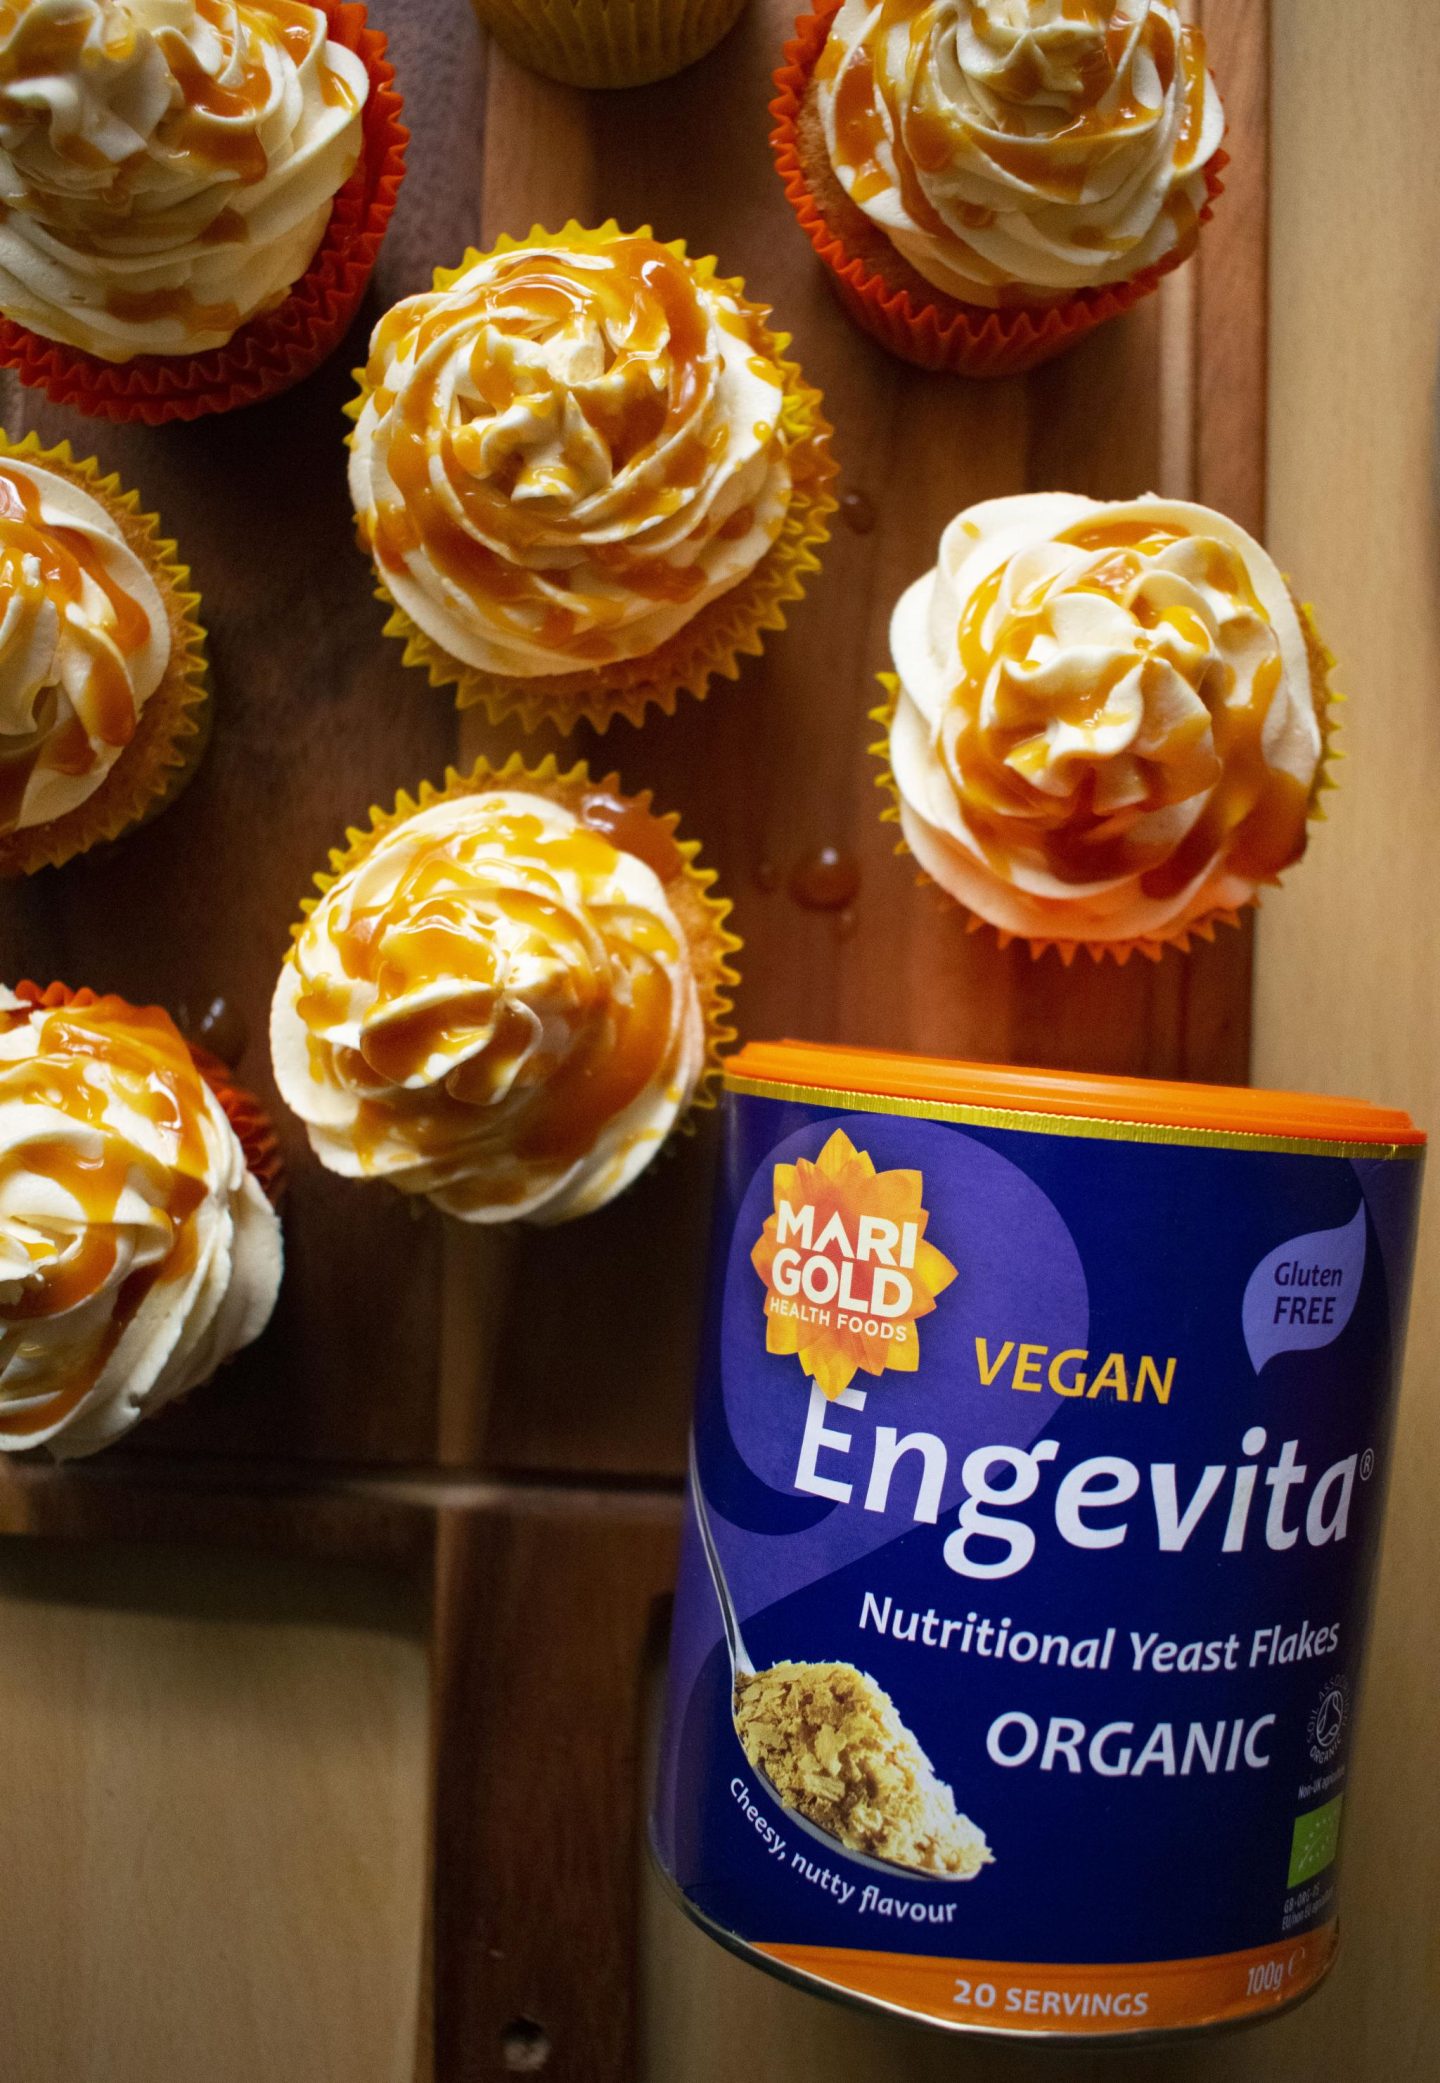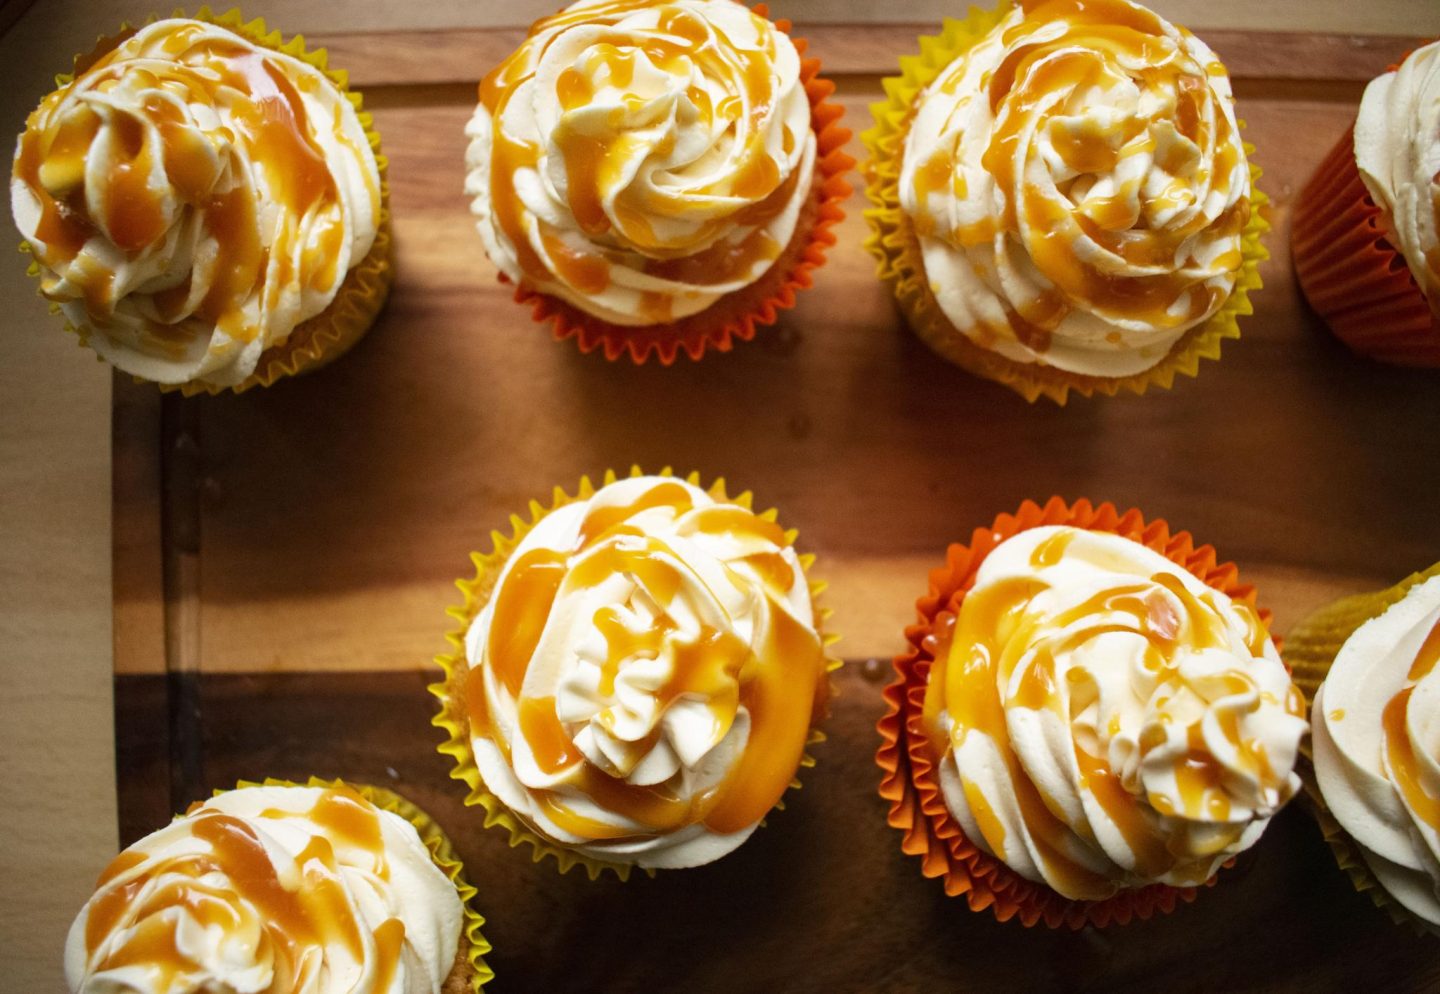
Well, well, well…where to start with such a delicious cupcake? One thing’s for certain, you will never see your nooch the same way again, instead, you will see it as a multi-functional ingredient, to be used in savoury AND sweet dishes!
No, we haven’t gone mad and no it does not taste cheesy in the slightest but instead imparts a deliciously salty hue to our miso caramel cupcakes and overall enhances the flavour. Give them a try and see how wonderful they are for yourself!
Ingredients:
For The Cupcake Sponge:
125 of unsalted butter/vegan butter
60g of light brown sugar
75g of caster sugar
125g of self-raising flour/gf works too!
1/4 tsp of bicarbonate of soda
1/4 tsp of vanilla extract
2 large eggs/flax egg
1.5 tbsp of almond milk
A pinch of sea salt
For The Miso Caramel Nooch Sauce (to be made 24 hours beforehand):
150ml of water
250g of caster sugar
250ml of double cream/soya double cream
2 tbsps of Engevita Organic Yeast Flakes
¾ tsp of miso paste
A small pinch of sea salt
For The Salted Caramel Nooch Buttercream:
200g of unsalted butter, very soft
320g of icing sugar, sifted
1/4 batch of the Miso Caramel Nooch Sauce

Method:
- Start off by making your miso caramel nooch sauce (to be made 24 hours beforehand) by having all your ingredients measured out and ready to go. Put your sugar and water into a tall and medium saucepan and turn the heat to a medium setting, do not stir this mixture at all.
- After about 5 minutes it will begin to bubble and after a further 4-5 minutes it will slowly caramelise. Once the mixture has reached a lovely amber colour, turn off the heat and slowly pour in the cream, do this a little at a time, it will bubble a lot and double in size at this stage, keep adding and stirring until all the cream has been added. Leave to cool for a few minutes before whisking in your miso paste, sea salt, and Engevita Organic Yeast Flakes. Pour into glass jars (it will be slightly watery now but will thicken once cooled thoroughly) and leave out until completely cooled and ready for the fridge.
- Next, preheat your oven to 170° and line your cupcake tin with either paper cases or greaseproof paper, set aside.
- In a medium-sized bowl simply add all of your cupcake sponge ingredients and get mixing with either an electric hand whisk or a wooden spoon, simple! The batter comes together very easily and will be thick yet scoopable. Do not overmix as this will result in a rubbery sponge! Using an ice cream scoop or tablespoon measure out even quantities of your batter and pour them into your cupcake cases. Bake for 18-20 minutes or until your cupcakes is springy to the touch. Set on a wire rack to cool down completely.
- Finally, it’s time for your buttercream and cupcake assembly! In a large bowl beat the butter for a good five minutes until it’s pale and fluffy. Add your icing sugar in batches of 3 and beat for at least 5 minutes after each addition.
- Finally, add your salted caramel and beat for a further 2-3 minutes until you have a very light, fluffy, and spreadable buttercream that will hold its shape. Set aside.
- Now, the fun part: decorating! Using an apple corer, remove the centre of each cupcake, about ¾ of the way. Fill the holes with your caramel.
- You can either use a piping bag to ice each cupcake or simply use a spoon, whatever you feel comfortable with. Finish off with a generous drizzle of your caramel sauce and ENJOY! These cupcakes will last for 2-3 days in an airtight container.
