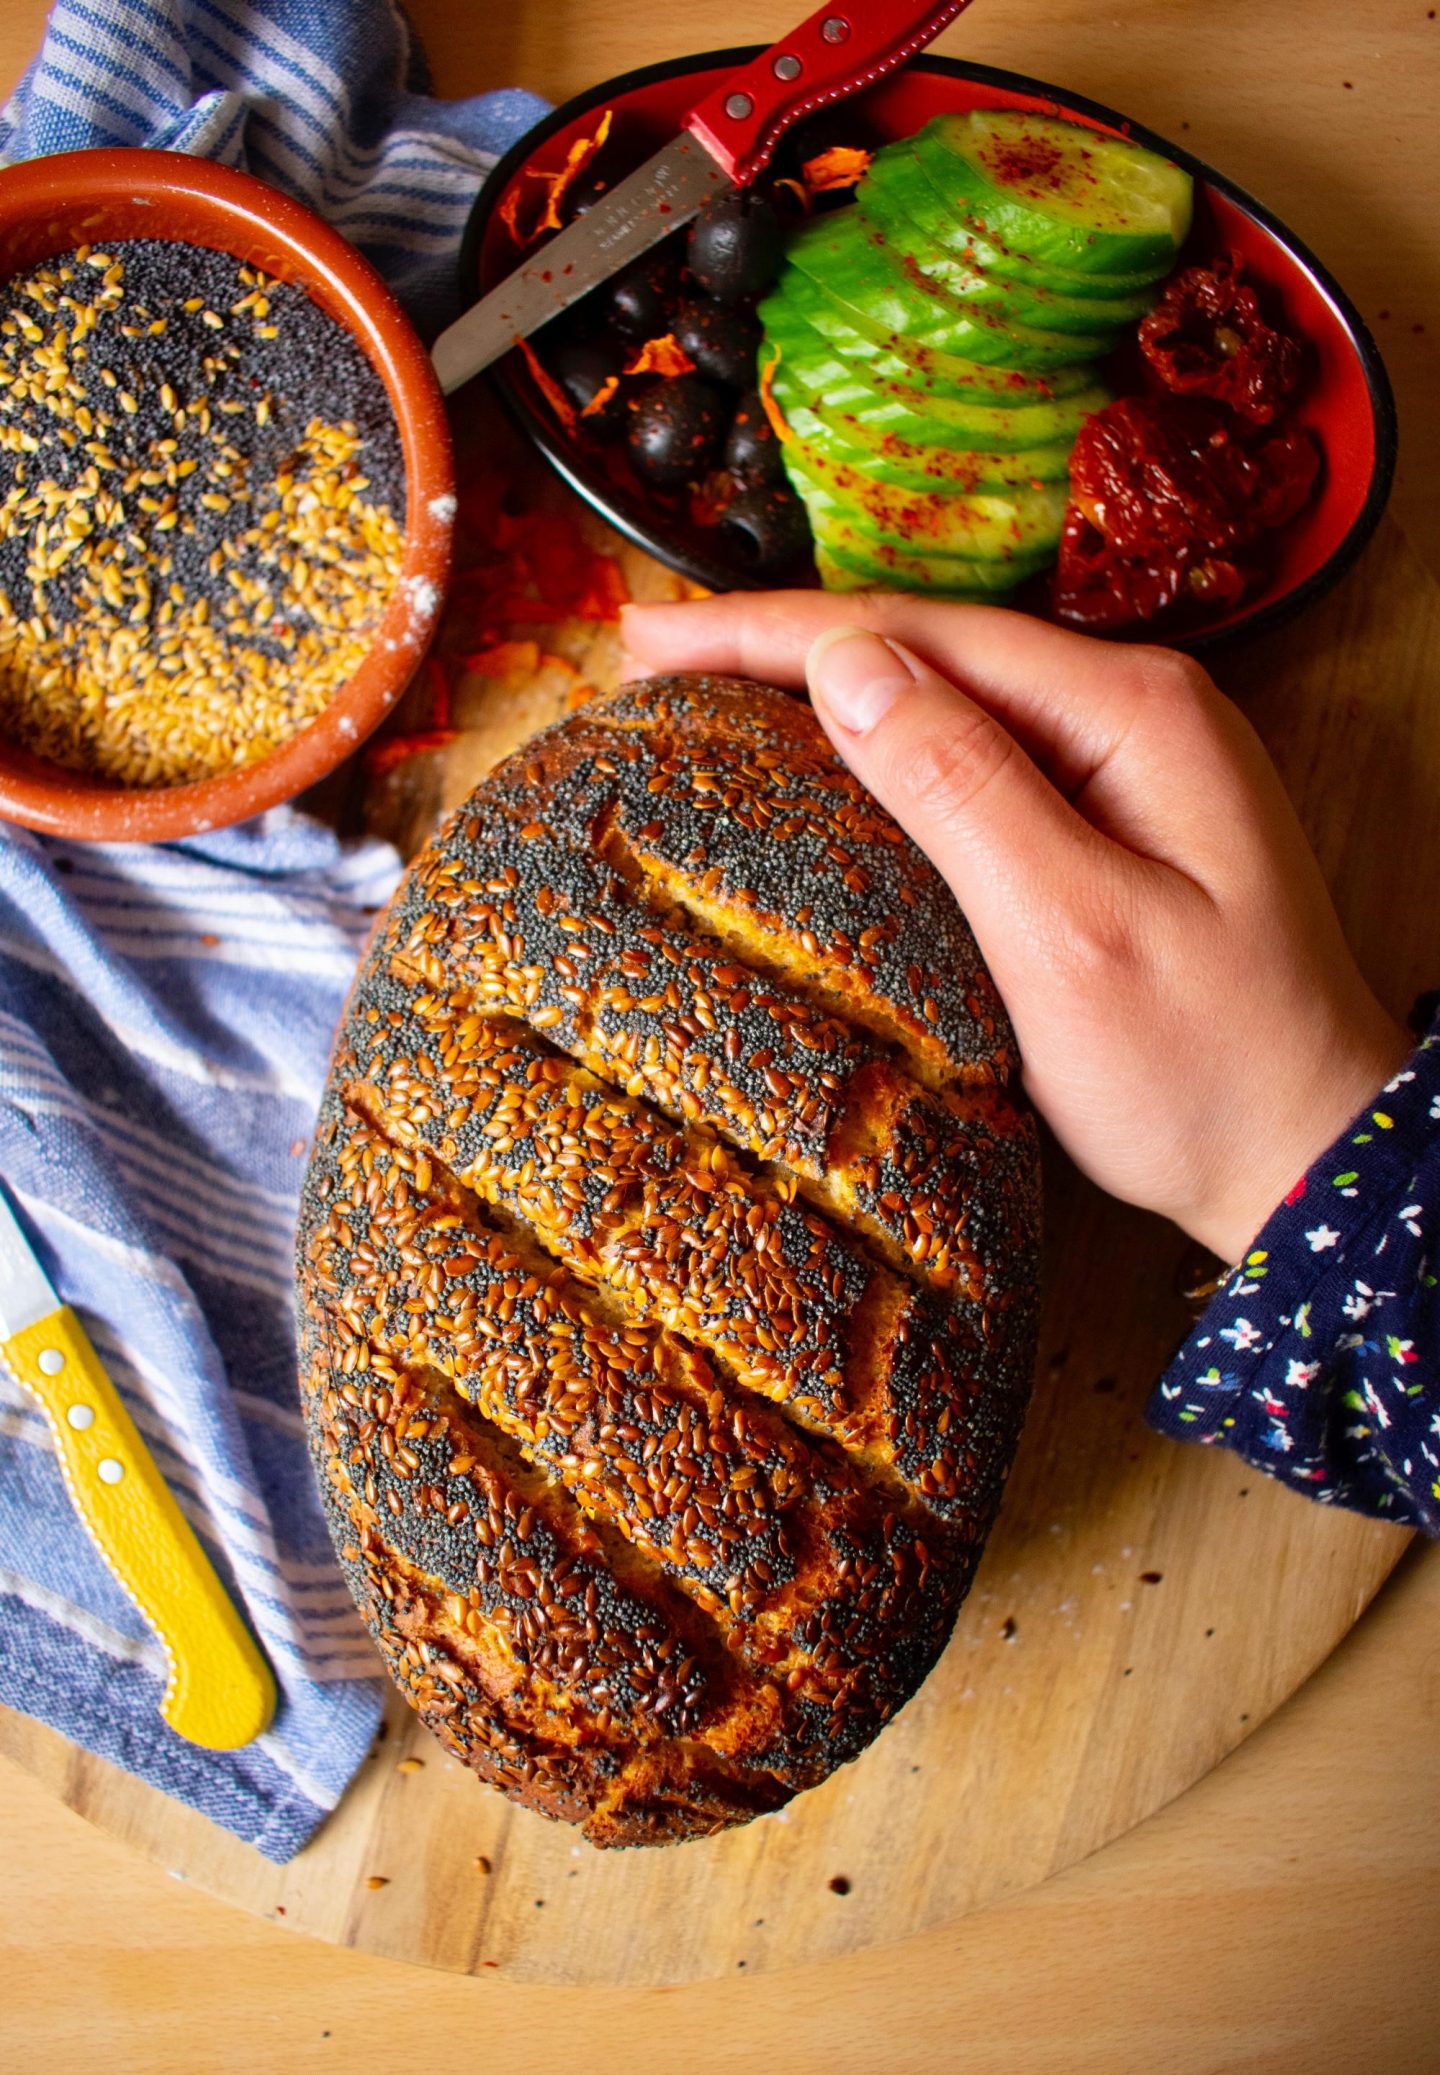
So, let’s start off bread week with my seeded sourdough. Before I share the recipe though, I just have to say this: However trendy sourdough is right now, remember, it’s the oldest form of bread making out there. From Egypt, bread-making spread north to ancient Greece, where it became a luxury product that was first produced in the home and then in bakeries; the Greeks had over 70 different types of bread, which includes savoury and sweet, using a wide variety of grains and sourdough has been mentioned numerous times…so sourdough has been around for a while! Okay, rant over, here’s my easy peasy recipe!
Ingredients:
500g strong white flour
10g of sea salt
100g mixed seeds, I used poppy seeds and golden linseeds
325ml of tepid water
170g sourdough starter
Method:
1 Add the strong white flour to a clean mixing bowl. Mix the salt through the flour. Add half the seeds to the flour and mix through. Add the water and sourdough starter to the flour. Combine all the ingredients together to form a rough dough.
2 Turn the dough out onto a clean work surface. Tip: The gluten forms in the dough once it becomes hydrated but initially the gluten is weak therefore to develop the strength within the dough the dough is kneaded which involves stretching and working the dough so please be patient at this step.
3 To develop the dough fully, knead the dough for 8 to 10 minutes. Tip: When kneading, do not worry if the dough is slightly wet or sticky. Resist the temptation to add any extra flour. Be persistent the dough will come together, honestly!
4 After approximately 10 minutes or so, the dough should be smooth and elastic. Return the dough to the mixing bowl (which you can lightly grease with a bit of oil to help remove the dough later), cover with cling film and allow the dough to prove for approximately 3 hours at room temperature.
5 After 3 hours turn the dough onto a clean work surface and knock the dough back. Tip: Knocking back the dough simply involves knocking the air from the dough with a light kneading which equalised the temperature within the dough.
6 To coat the surface of the shaped dough in seeds, dampen the surface of the shaped loaf by rolling and lightly pressing the dough on a clean damp cloth. Place some seeds into a bowl or plate and rolled the loaf in the seeds.
7 Place the shaped dough upside down into a proving basket, seam side facing up. Or alternatively a bowl (Pyrex dish) lined with a tea towel will work fine (without the cloth, your loaf will stick in the bowl and you won’t be able to turn it out). Tip: If using a Pyrex dish (which is what I used), prepare the lid of the Pyrex dish by greasing and dusting with flour, this will prevent the dough from sticking to the lid later. Fold the corners of the tea towel over the dough and leave to prove at room temperature for another 3 hours.
8 Preheat your oven to 230°C/210°C fan assisted and unfold the tea towel then place the lid on the dish. Flip the Pyrex dish over so the bowl of the Pyrex dish now becomes the lid. Remove the tea towel. Using a sharp knife cut/slash the surface of the dough, this is what is known as the baker’s signature. The dough can be cut up to ½ cm deep. Cover the dough with the bowl of the Pyrex dish and place the Pyrex dish into the preheated oven.
9 The dough will need to be baked for 50 minutes in total. Bake for 25 minutes, then remove the lid from the Pyrex and continue to bake for a further 25 minutes. Once baked remove the bread from the Pyrex dish and allow to cool before slicing, enjoy!
Niki xx